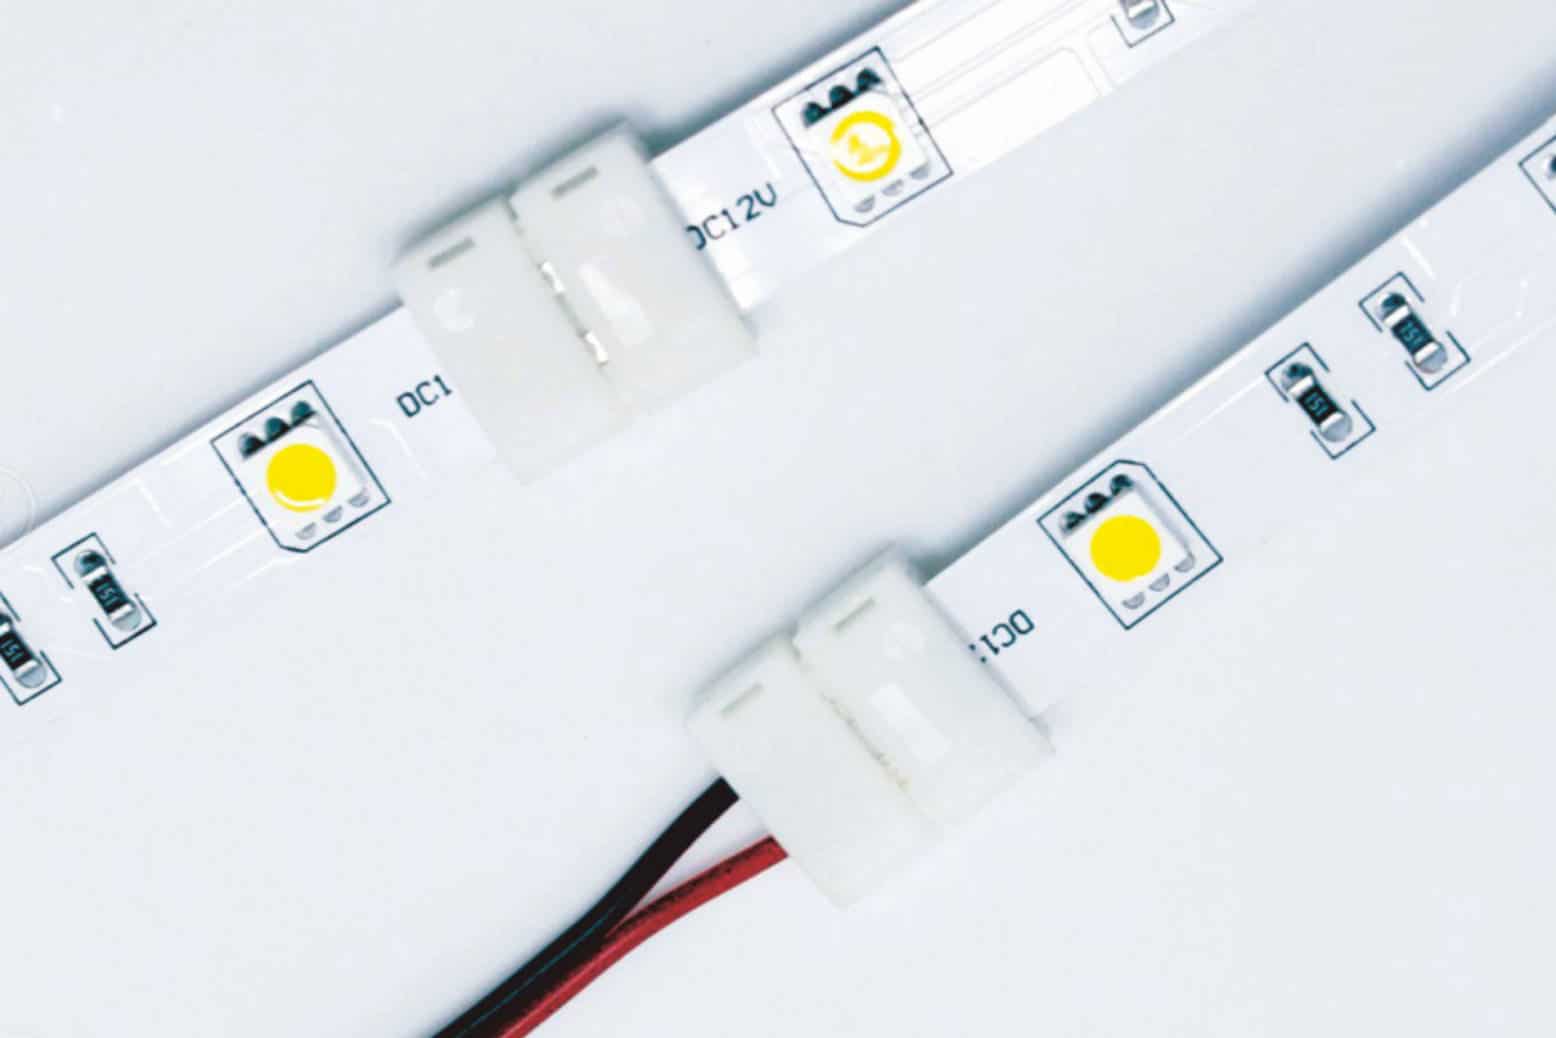
With tons of new design ideas every minute, more and more people have been using LED strip lights. However, one’s not enough to do the trick. If you want to find out how to connect multiple LED strip lights, well, you’re in luck. Read this article to know more.
Is this process safe?
Before starting to understand the process, it’s crucial that you know what an LED Strip light is and if it is safe to do it all on your own. To start, LED strip light is a long string line with small LED bulbs connected every few distances.
There are many options to choose from with LED strip lights, and you can never go wrong with using them around your house.
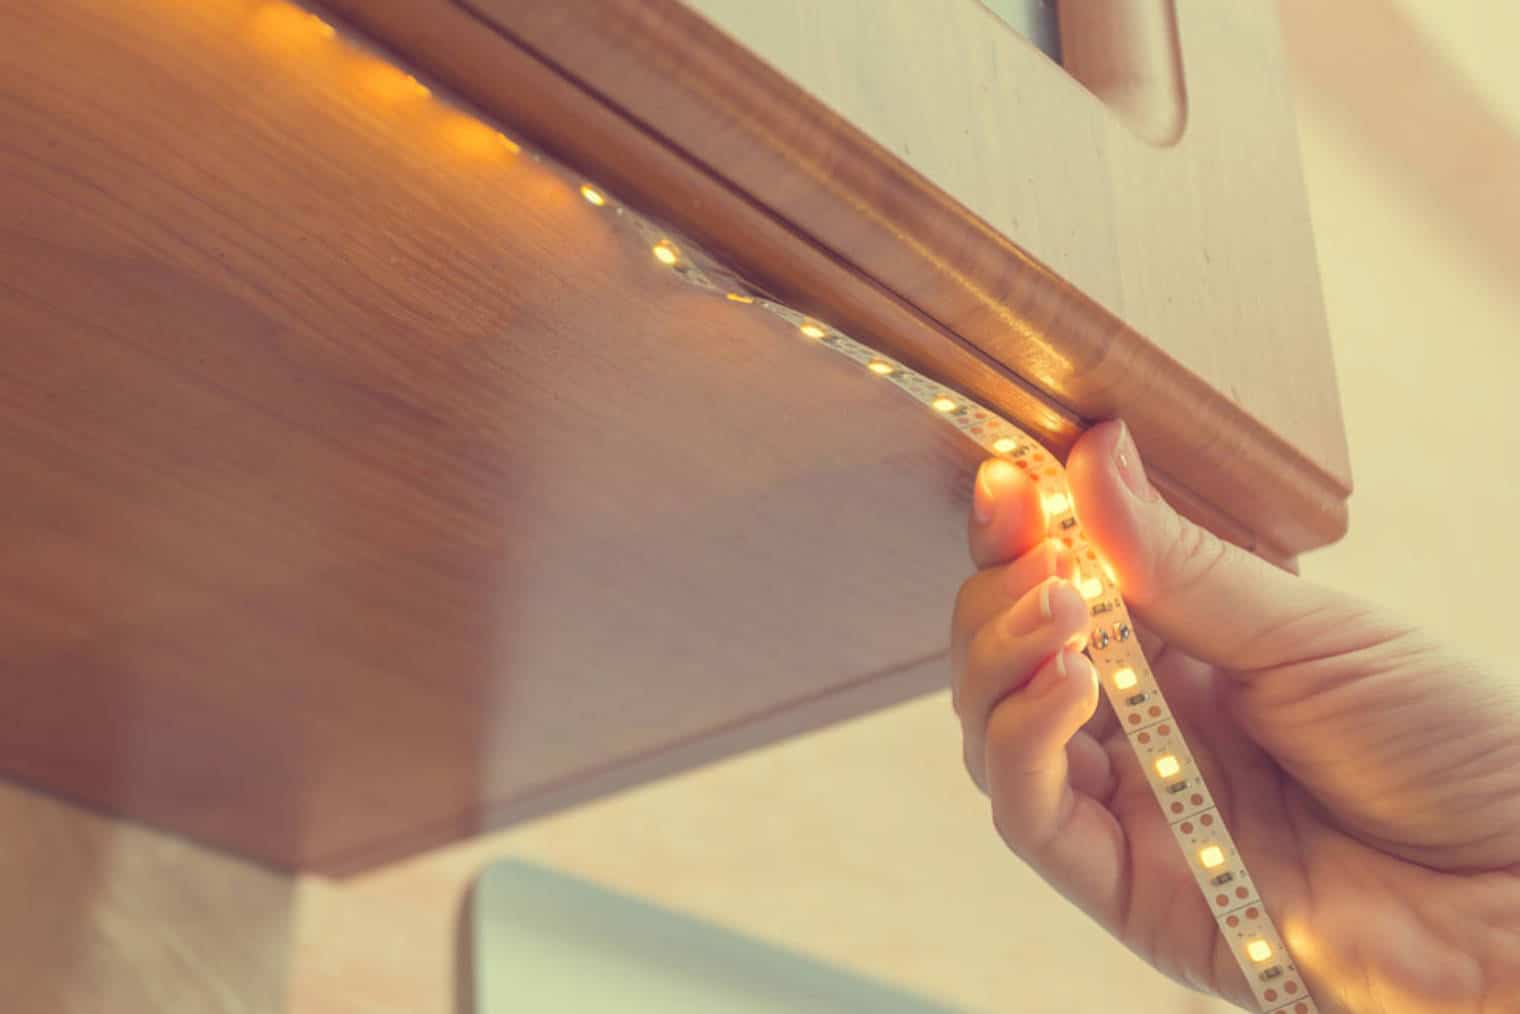
LED strip lights are used for decorative purposes whenever you need indirect lighting in your house or office. They can be used for several things such as backlights, cabinet lights, and many more. It comes in many different variations that you can choose from.
When it comes to safety, using LED strip lights in your home is safe. However, there are some precautions that you need to consider before you work with multiple LED strip lights.
If you are planning to buy inexpensive strips, keep in mind that they have cheap quality too, so they may not last you long and become a hazard for you and your family.
Things to Consider
When working with LED strip lights, it’s essential to take some precautions and consider a few things to make sure that all goes well in the process.
The following things are beneficial, whether before you start or after you finish with all the rewiring and connections. Without further ado, here are some things you should consider when working with LED strips.
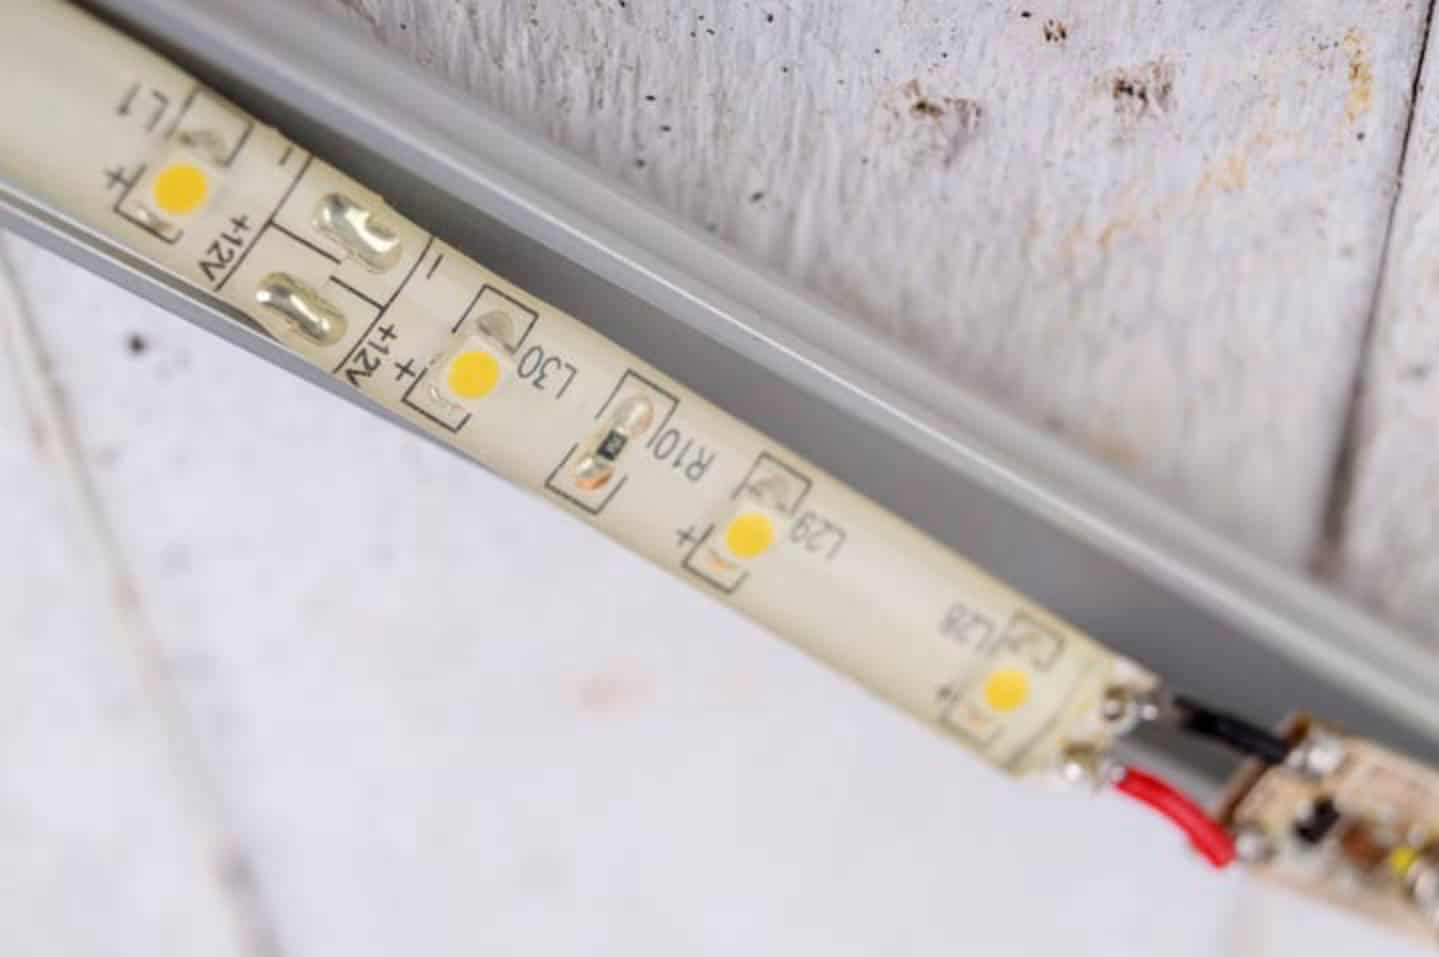
- Before you start with any process you choose, make sure to remove the plastic encasing of the LED strips since the wires will need to be exposed. Unless you are using a hippo connector, make sure to get all of the plastic out, including the area with the lettering.
- Once you finish doing all the rewiring and connections, it would be best to use a heat shrink wrap to cover it. This way, you can ensure that the wires are well-protected and safe from any accidents.
- The LED tapes will have a copper connection every time you pass two inches on the strip. Make sure that you will cut the wires before reconnecting them however you choose. This will keep your wires intact and ready to use.
- An essential thing you should remember when working with wires is always to connect the same color wires. The red should be connected to the other red while the green goes with the other green.
- Once you’re finished with everything, make sure to store all the materials you used and clean up around the area. Anything can be a health hazard.
Connecting Multiple LED Strip Lights with a Connector
The first way to connect multiple LED strip lights is by using a connector. There are tons of different types of connectors out in the market, so make sure to choose one that can do the job right. Here are the steps to connect multiple LED strip lights with a connector.
1. Choose which type of connector you’ll use
When connecting multiple LED strips, you first need to determine what type of connector you want to use.
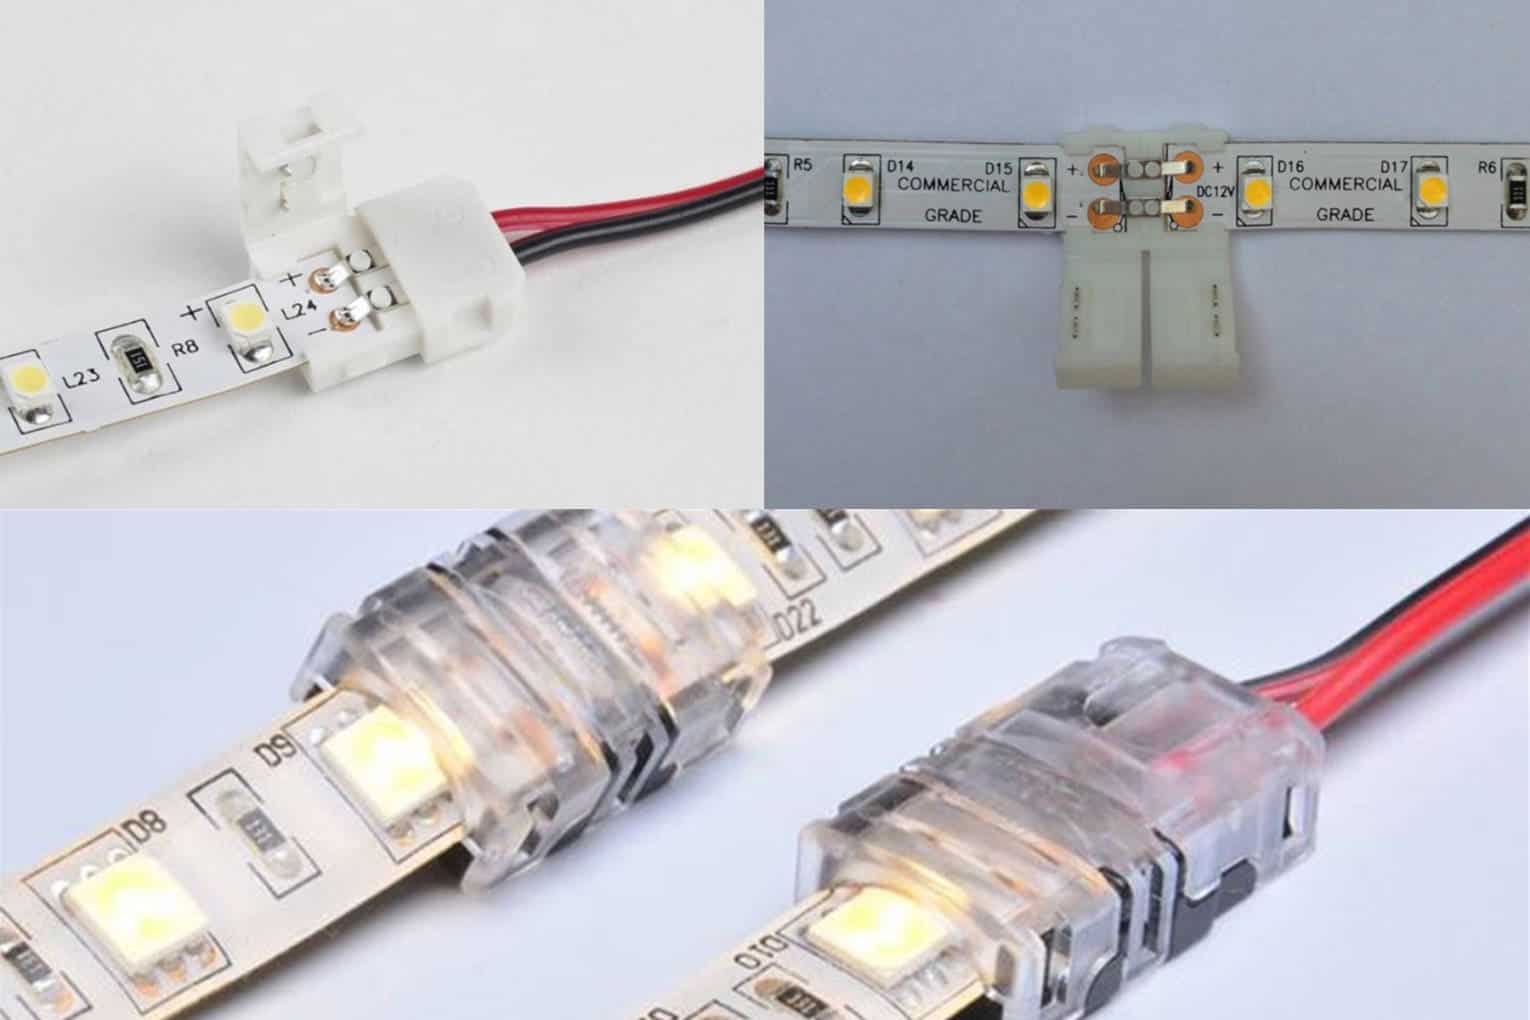
There are three different types of LED strip light connectors that you can choose from, and it’s important to know what each of them is and how they can help you. Read the descriptions below.
- Solder-Free LED Connector: If you want to use a parallel connection for your strip lights, Solder-free LED connectors are the way to go. This connector has parallel pins to help you connect two or more strip lights in parallel without any problems.
- Hippo Buckle LED Connector: The Hippo Buckle is one of the easiest connectors for white and RGB strip lights. If you want to see how this works, check out this video below.
- Solder-Free LED Wire Connector: Wire connectors are the best option for large-scale connections such as pillars and wall corners. This type will help make multiple connections easy without the need for soldering.
2. Prepare the LED strips
Once you’ve chosen a suitable connector for your strip lights, it’s now time to prepare the LED strip lights. Figure out how much you need; it’s better to have more than fall short. Then, cut the nearest copper pad to the end of your desired length. Do this for all of your strips.
3. Attach the connector and secure the wires
Once your LED strip lights are ready, get the connector and connect the two strips. Position the red wire directly on the positive and the black wire on the negative. Once they are all secured, connect the LED strips to a reliable power source.
Connecting Multiple LED Strip Lights through Soldering
Another way of connecting multiple LED Strip Lights is by using a soldering iron. This process will permanently keep your LED strip light connected for a long time. If you are interested in this process, check out the steps below.
1. Prepare the LED Strips
Like the previous process, the first thing you need to do is prepare all of your LED strips. This will help you save time in the process and make it relatively more manageable for you.
Before starting, you can also preheat the soldering iron to at least 350 degrees Fahrenheit to save time.
Start by settling on your desired length and figure out how many LED strips you need. Next, grab a pair of scissors or wire cutters and cut the strips of your desired length.
Make sure that you cut it on the designated points or the copper pads, as some call it. Then expose the wires by removing their outer casing.
2. Pre-tin the important points
Once you have the strips and wires ready, the next step is to pre-tin all of the important points where you’ll connect the strip lights like the wires’ end and the contact points on the connecting led strip. This step can quickly be done with the use of a soldering iron.
3. Connect the endpoints and secure
Once you’re done with the pre-tin, you need to connect all endpoints. Place the red soldered wire on top of the positive sign and the black soldered wire on the negative sign.
Wait for it to cool down for no less than 30 seconds. You can secure the connected area with a heat shrink wrap cover. Once you are finished with all of the steps, all that’s left to do is connect the LED strip lights to a reliable power source.
Frequently Asked Questions
Now that you know how to connect multiple led strips and connect them to a power source, there must still be some questions lingering on your mind that are left unanswered. To help you with that, here are some of the most frequently asked questions regarding LED strip lights.
● What are the different types of LED Strips?
There are two types of LED strip lights called White LED Lights and RGB Strip Lights.
The most commonly used one is the White LED light. It has a warm light that isn’t too harsh to the eyes. The two types of white LED lights, the calm and warm LED lights, are the most commonly used so far.
You can use a white LED strip light to create whatever your imagination. However, if you prefer a bright white, you may choose the cool LED lights while the warm one is more preferred for yellowish hues.
The other type is the RGB Strip Lights. It’s a great choice if you want more color in your home. However, they are more expensive than the regular white ones, which may be a problem if you want to decorate an ample space.
There are also two types of RGB Strip Lights, analog and digital. An analog strip light is connected in parallel, while you can operate each LED light bulb separately with the digital.
● What should I use, Parallel or Series?
This depends on your preference. If you want all of your LED bulbs to light up as bright as the others, go for a series connection. However, if one of them fails, you won’t be able to change them unless all of them fail.
For multiple LED strips, it’s better to have a parallel connection, but it will get dimmer as time goes by.
● Can I cut an LED Strip Light?
This will depend on what type of LED strip you’ll buy. Most LED strips can be cut but on a specific part only, specifically the copper pad, so make sure to look for it before beginning so you’ll know what to do.
Summary
Connecting multiple LED strip lights is a straightforward process that doesn’t take too much time. We hope this article helped you figure out how to connect multiple LED strip lights without any problems.
Now, you can confidently add some color and design to your home without any worries.
