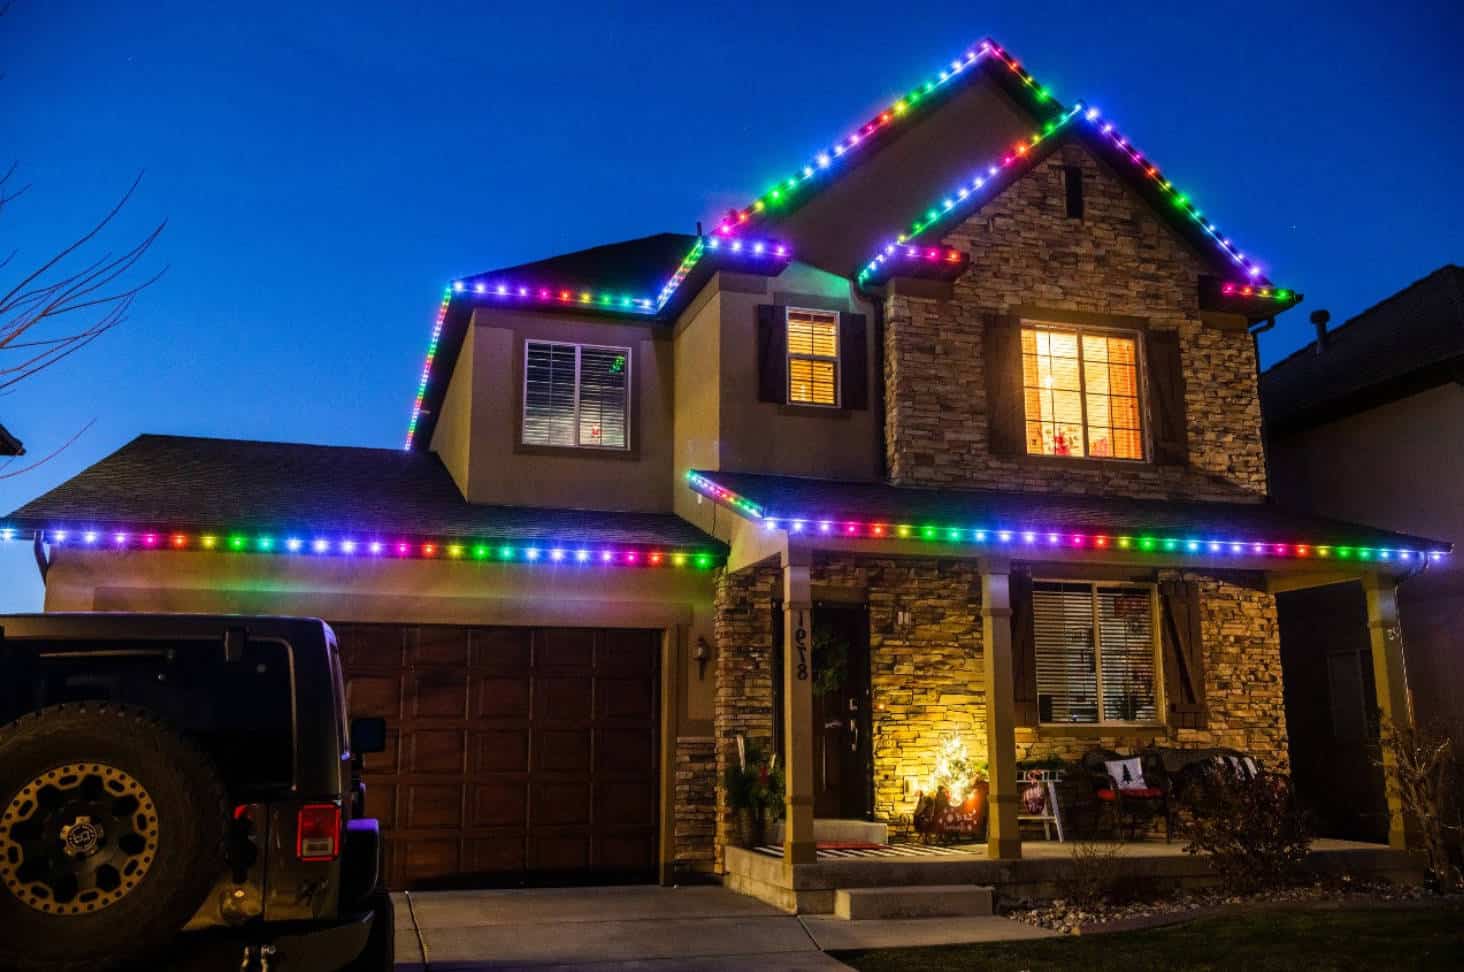
Buying LED Christmas lights is an excellent way to save money and energy since they last longer. Like any other light, they will inevitably burn out or get defective.
Fortunately, repairing them is easy. Before you go out and get some new ones, read on to learn how to fix LED Christmas lights.
Safety Precautions

LED Christmas lights are considerably easier to fix than incandescent ones. Traditional lights get easily damaged and run hotter.
It’s critical to take the required safety precautions before commencing the repair of your LED Christmas lights. You can get electrocuted if you don’t know how to handle the task.
So, if you feel you aren’t qualified to do it, then don’t do it. If you can, ensure to turn off the mains first to guarantee your safety. Prepare the required tools and supplies in a safe, accessible spot.
Tools and Supplies
The tools you will be needing for the repair will be based on the kind of LED Christmas lights that you have. If you have replaceable bulbs, the repair is simple but time-consuming. All you have to prepare are a pair of pliers and replacement bulbs.
However, if the bulbs aren’t replaceable, the process gets slightly more difficult. You should have additional tools and knowledge of electrical repair.
To fix these sorts of lights, you’ll usually need a soldering iron, a voltage detector, wire strippers, wire cutters, and heat shrink tubing.
Common LED Christmas Light Issues
Faulty Bulb

If you have been using your LED Christmas lights for several years, one common issue is a faulty bulb. If one strand stops operating, it’s most likely due to a faulty bulb.
If a bulb fails, the rest of the string may not function. What you can do is locate the defective bulb.
If only a segment went off, your job would be a lot easier. However, if the whole strand is out and the bulbs are removable, you’ll need to examine the bulbs individually. You can do this by hand with the help of pliers.
This entails removing the bulbs one by one, changing them with a new one, and then plugging them back in. Do this until you find the faulty bulb or the end of the string is reached.
If it switches on, you have discovered the bad bulb. You may now proceed to decorate your tree with your LED Christmas lights.
If the light does not turn on, remove the replacement bulb, replace it with the original, and go to the next bulb. It’s a long process, but once you’ve found the faulty bulb, it’s simple.
Test each strand before hanging them on the veranda or winding them around your Christmas tree to make your job a bit easier. Repairing them on the floor is much easier than suspending them from a ladder.
You can make use of Christmas light bulb testers to do this without detaching each bulb. But not all will work with LED lights since the voltage differs from that of incandescent bulbs.
The LED Keeper is the only tool available on the market to quickly identify where the current is failing. You can use the LED Keeper to locate and remove any faulty lights in your string.
It’s a fantastic tool if:
- You have a large number of faulty string lights to fix.
- Your string lights have more than 100 lights.
- Your Christmas LED light bulbs are not replaceable.
Always exercise utmost caution when working with electric lights. If you detect a bad smell, sparks, or extreme heat in the wiring or plug ends, remove the string of lights.
Do not attempt to modify a string of lights or perform excessive circuit repairs as it could create a fire or cause harm or death due to electric shock.
Corroded Terminal
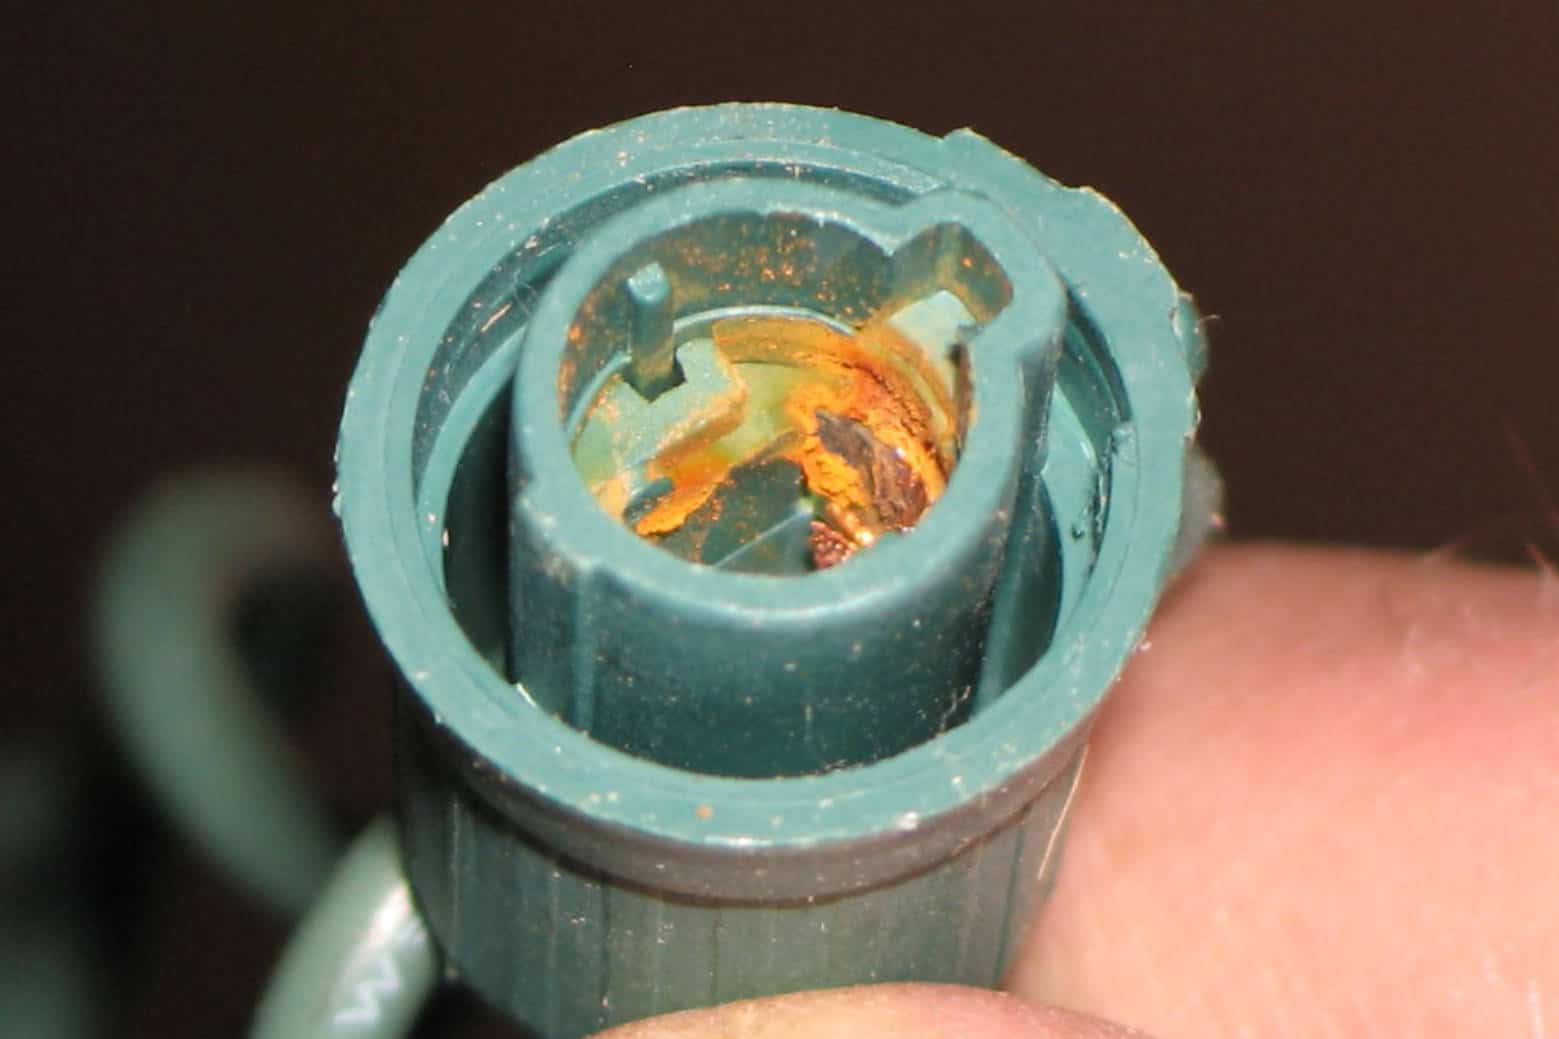
If all bulbs have been replaced and the lights still do not function, you likely have a faulty terminal. Each bulb has its terminal receiving the charge and turning it on. However, these can fail at times.
Detecting a corroded terminal is similar to locating a faulty bulb. Detach each bulb and inspect the terminal. Check if it has deteriorated. Inspect the terminal on the strand where the bulb was detached. It should be dust-free and free of corrosion.
If it isn’t, you can use a brush or a little file to clean it before returning the bulb. Keep yourself safe by turning off the lights while you inspect them.
Loose Bulbs

Your LED Christmas lights can get loose over time, and the string of lights will stop functioning if the bulbs aren’t adjusted properly. All you need to do is re-insert the bulb. It will reactivate and turn on the whole string as well.
Also, inspect the metal supports of the Christmas lights when you remove the bulbs. You should find two posts secured on each bulb’s side.
If any of the posts is loose, the electrical circuit causing the lights to glow will not be connected and closed. You can resolve it by replacing the bulb.
Frayed String

Knowledge of repairing LED lights isn’t always enough to save a strand. You may need to change the string in some circumstances.
A rectifier is located in the center of most strings to help prevent the bulbs from flashing. If it fails, 50% of the strand will usually stop working, and you’ll have to replace it.
Before displaying your Christmas lights, make sure to inspect the wiring. Change the strand if you’ve noticed frayed or worn wiring.
This usually happens if you use a staple gun to hang your Christmas lights or keep them in a position that flattens or damages the wires.
Blown Fuse

LED Christmas lights usually come with a fuse in every string. Most of the time, the fuse is hidden behind an opening on the plug.
Open the access door, take the small fuse out, and change it. It can be tough to open the door at times.
Use a butter knife or a slotted screwdriver to avoid cracking a fingernail. Ensure all of your lights are off before you start.
Unmatched Wattages
To begin, try to recall when you last changed the bulbs. Because LED bulbs have a limited wattage, you can only replace them with bulbs with similar wattage.
You may have inadvertently changed some bulbs with newer bulbs of different wattage.
Check the manufacturer’s directions for your Christmas lights found in the box. Look for the wattage of the bulbs. It’s normally between 2.5 and 6 watts.
Then, replace the bulb with the appropriate wattage. This could perhaps solve the problem.
Switches rated at 15 amps may perform admirably on circuits rated at 20 amps. However, LED lights are not as adaptable as switches with varying amperes. As a result, various wattage bulbs will not operate in LED lights.
Incompatible Timer
If your Christmas lights don’t have timers, you may move on to the next issue!
In case your LEDs have one, yet the lights fade, the timer is the problem. This is because the timer’s connection frequently disturbs the flow of the current. Thus, the lights become dimmer.
Make sure the LED lights and the timer are compatible as instructed in the manual. Make necessary adjustments.
Voltage Drop
If you’re experiencing a voltage drop, inspect the prongs of the plugs. The voltage depends on the connection created by the LEDs’ plug. This, in turn, determines their brightness.
If your LED lights don’t receive adequate electricity, they will dim. So, what causes a voltage drop? It’s because of corrosion. Corrosion can be caused by several factors. Inspect the prongs. If they are corroded, they will turn dark brownish.
Remove the rust by wiping the prongs with steel wool. You can also use a brush or file mentioned above. Your plug will be as good as new in no time!
Maladjusted LED Lights

If the prongs are fine, but the LED lights are dim, think about where you’ve put the LED lights. They don’t always adapt well to the environment, particularly the weather. If you leave them outside, they may become dimmer.
Take the Christmas lights inside and test them. If they’ve become brighter, the problem was caused by the weather. You can either display your Christmas lights indoors or acquire another set to place outside.
Corroded Holders
To fix corroded holders, you must remove each LED. Keep in mind that this will require patience and time. You must first unscrew each LED cover. After that, inspect the LEDs’ holders after removing them. Holders, like plugs, can also corrode.
Remove the LED cables from the holder first. Then, get a toothpick and some sandpaper. Scrape the rust away. Use new sandpaper because a used one will not work well.
Continue until all of the holders are glossy and bright. After that, gently replace the LEDs in their holders.
Summary
LED Christmas lights consume less energy than incandescent bulbs, allowing you to save money on your energy bill. They also last longer, decreasing the need to replace a string of them regularly.
If you need to change any, make sure to follow the instructions above on how to fix LED Christmas lights.
Too much work!!!!
I just buy a new string and toss the old. I do NOT have this paience.
Thanx anyway.
Merry Christmas!