Everything You Need To Know About LED Recessed Lighting And How To Install It
Introduction
Recessed ceilings are always included despite the new trends in interior design and lights. It hides the lighting fixture making it seamless while it creates the mood.
People want to learn how to install LED recessed lighting for them to conceal the lighting fixture to create a neat look.
What is LED recessed light?
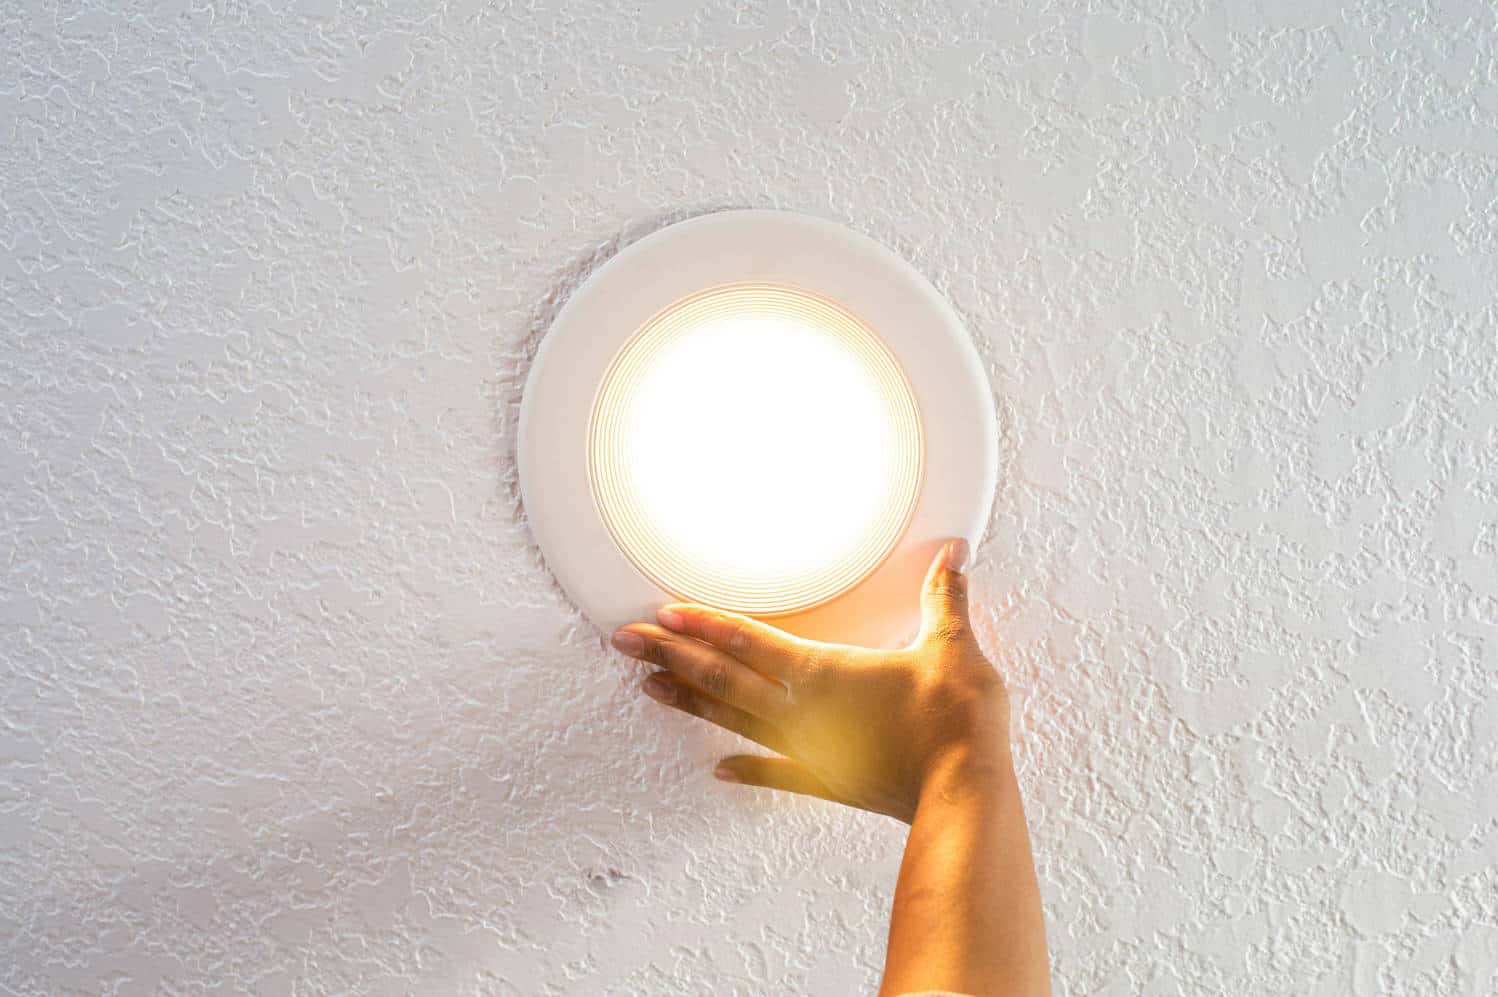
An LED recessed lighting fixture is commonly known as pin light, but the correct term to use is downlight. You install this type of lighting fixture into the ceiling.
The body of the LED downlight is embedded into the ceiling. The only visible part of the lighting fixture is its head facing downwards, so the luminosity and brightness of the lights are aimed downward. Hence the term, downlight. It is like burying its body upside down.
LED recessed lights are often used for general lighting and are sometimes used as an accent light to emphasize the focal point of the interior space.
Tools You Need in Installing Recessed Light
You cannot install LED recessed lights along with your bare hands. You will need these tools to assist you in installing these downlights. These tools will make it more convenient for you to do the process.
Take a look at the table below to know the tools you need to prepare before installing recessed light. You may be familiar with most of the devices on the list, though some may not ring a bell to you.
- Screwdriver
- Saw
- Electrical Tape
- Fish Tape Reel
- Hacksaw Blade
- Pliers
- Voltage Tester
- Right Angle Drill or Driver
- Step Ladder
- Stud Finder
- Tape Measure
- Utility Knife
- Wire Ripper
- Wire Stripper or Cutter
- Protective Gears
Step-by-Step Guide on How to Install Recessed Lighting
Though, installing recessed lighting varies from one skilled worker to another. But, if you want to try it for yourself, you need some guidance.
Read the general steps below if you want to try it yourself and if you are having a hard time, take it as a sign to call for help from a skilled person to do the task.
Follow the steps below on how to install recessed lighting:
- Before installing, do not forget that the circuit breaker is completely turned off to avoid being electrified.
- Use a step ladder to be convenient for you to reach the ceiling.
- Make sure that you use the paper template in the lighting fixture box you bought to outline the hole. Then start outlining the ceiling by following your lighting layout plan.
- Do not forget to wear your eye protection to avoid getting dust or residues in your eyes.
- Then start cutting the outline using the jab saw, and hole saw.
- Start doing the roughing-ins—double-check where the previously installed downlight wire is connected.
- Wires are identified according to their colors. Before you start making wire connections, do not forget to chisel at least 4 inches of cable wire sheathing using a wire ripper.
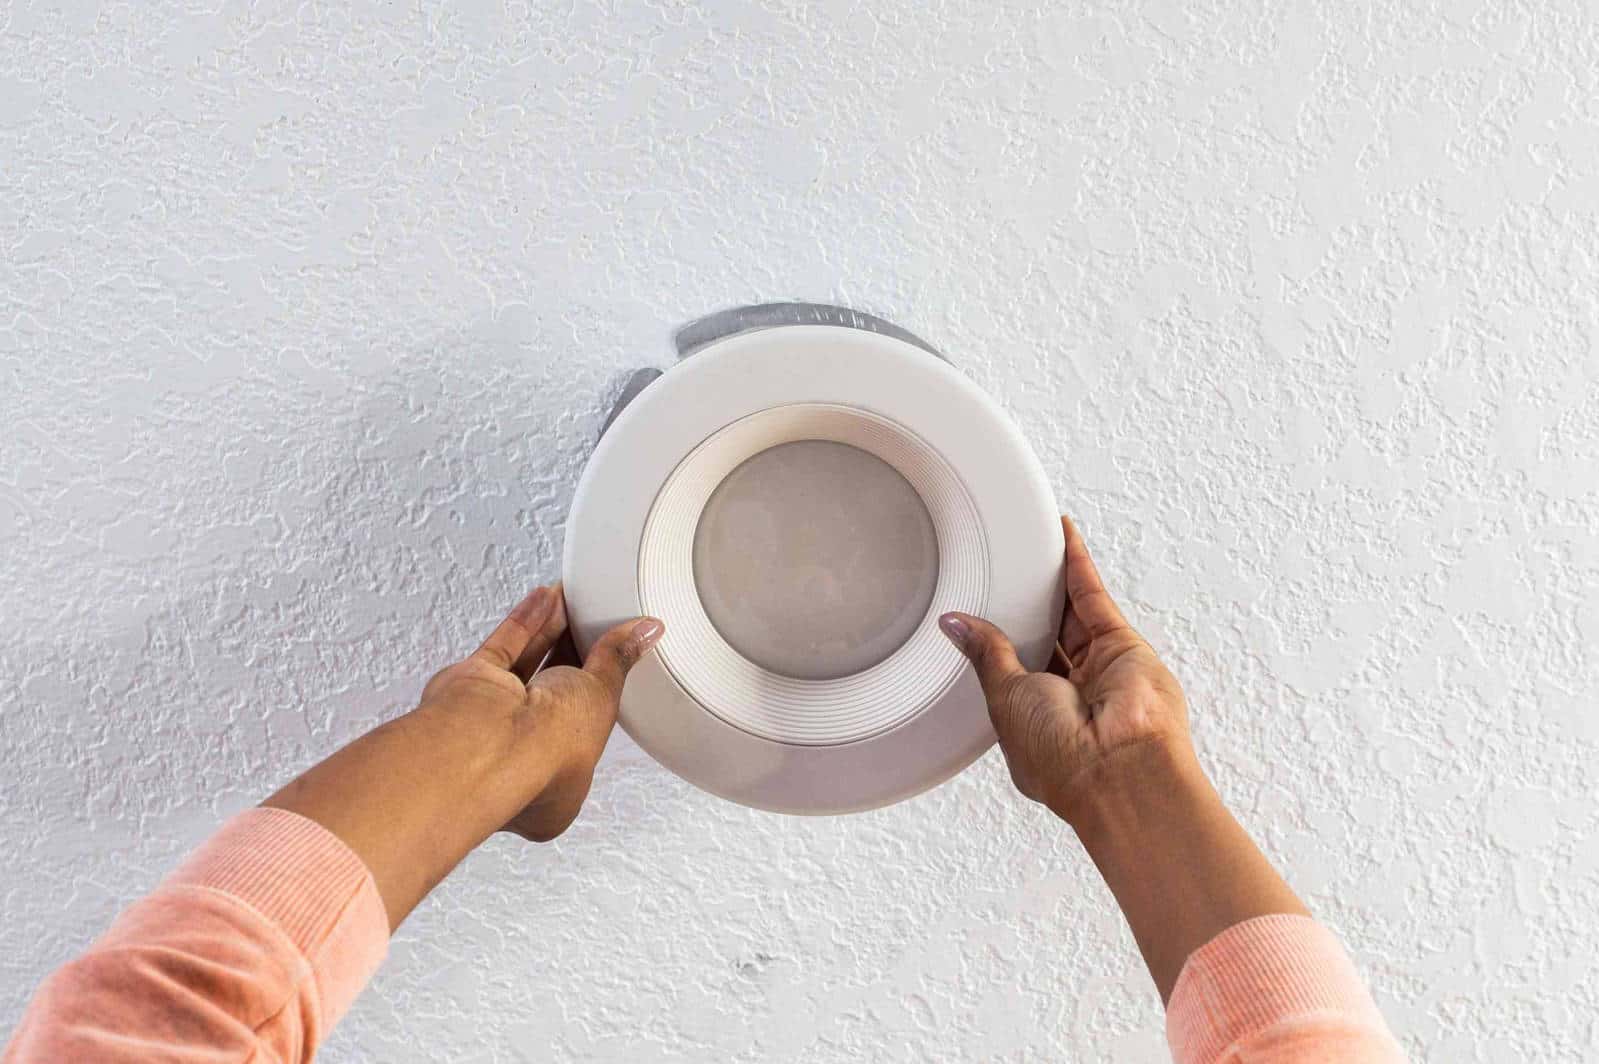
- You can now install the LED recessed light into the ceiling hole if you are done with the wiring connection.
- Usually, LED downlights already come with a trim, but if you do not have an existing one, then firmly attach a trim onto the ceiling.
- You can now include the compatible light bulb with your LED recessed lighting fixture.
- Connect the electrical wire cable into the circuit breaker and turn the panel board on.
- Afterward, the newly installed recessed lighting is now ready to light up. Do not forget to check if both the dimmer switch and the lights are working well.
If you still find it difficult to install an LED downlight, it is always best to call for help from skilled and licensed electricians.
They are the best people to come to because they are knowledgeable and experienced in doing these things. But also have the perfect tools for them to do the job smoothly.
Different Installation Methods
There are two different installation methods you can choose from when you plan to install LED recessed lighting— the conventional installation method and the low-clearance installation method.
Professionals and skilled workers often use these two methods to achieve proper and safely installed LED recessed lighting and give the end-users a well-lit area.
5 Things to Consider When Installing LED Recessed Lighting
Installing LED recessed lighting is actually very tedious. It requires skill to be able to do it successfully. Though DIY is feasible, we do not recommend it unless you are up for the challenge.
There are a lot of things to consider when you want to install LED recessed lighting in your room. It takes a lot of time to decide because it is not like you are buying pants and buying what fits you or just because you like the style.
In lighting, there are various things that you need to consider before coming up with a decision.
You can take the list below as your checklist or guide when choosing and installing LED recessed lighting.
Decide what trim do you prefer
Recessed lights are commonly known as pin lights. But when professionals such as architects, interior designers, and engineers specify these recessed LED lights on their lighting layout plan, they use the term downlight. Rightfully so, the downlight is the correct term to use.
Before you purchase the LED downlight, make sure to decide what type of trim you prefer because these trims indicate how lights are being rendered, whether it has a wide beam, a rotatable light, or a spotlight.
There are various types of trim for LED recessed lights, a baffle trim, an eyeball trim, gimbal trim, and a lot more.
Take a look at the table below to know their differences as well as their own characteristics:
TYPE OF TRIM | DESCRIPTION |
Baffle Trim | ● Often used to residential houses ● Light bulb is within the trim minimizing the glare ● Interior surface of the lighting fixture is ribbed in order to shape the emitted light |
Decorative Trim | ● As the name implies, this type of trim is used to have an aesthetically pleasing lighting fixture ● Often made out of glass and metal ● Has a lot of various shapes and sizes |
Eyeball Trim | ● Has a feature to control light direction ● Has 30 degrees tilt and up to 359 degrees rotation |
Gimbal Trim | ● Looks much like an eyeball eyeball trim that swivels within its housing ● Though it has a pivot mechanism, it does not protrude much out of its housing ● Has a motion range similar to eyeball trim |
Lensed Trim | ● Has either glass or plastic lens to cover its lamp ● Recommended to be used for wet areas |
Open Trim | ● Economical ● Low-Profile ● Fits the lamps ● Flushed onto the ceiling |
Pinhole Trim | ● Recommended for spotlight ● Illumination directs downward ● Light emitted is from a concealed origin ● Has an aperture that tightly fits the bulb or lamp |
Reflector Trim | ● Can be compared to baffle trim due to their similarities except that it has smooth and soft interior surface |
Slot Aperture Trim | ● Recommended to conceal the light source ● Has a motion range of 35 degrees tilt and 179 degrees rotation |
Surface Adjustable Trim | ● Also called Scoop or Elbom Trim ● Has a maximum motion range of 70 degrees tilt and 359 degrees rotation |
Wall Wash Trim | ● Its eyelid removes the “scallop” effect when light hits directly the wall |
Consider the recommended color temperature
Ensure that you are able to purchase the recommended color temperature depending on the function of the room.
Check wire material
If you are going to replace an old LED recessed lighting, it is essential that you check the existing wire material to ensure that you will be using a similar wire type.
It is also recommended to have it replaced and installed by a skilled electrician to avoid being grounded.
Check the distance or spacing
For you to maximize the best outcome of general lighting with LED downlight, ensure that you are able to utilize its quantity by having the correct distance or spacing in between the lighting fixtures.
It is recommended to have at least 4 feet minimum distance between two LED downlights and at the same time at least 2 feet minimum distance between walls and downlight if you want to achieve an excellent wall-wash effect.
Consult architects, interior designers, or lighting experts if you find it challenging to create a lighting plan.
Decide the location of each fixture
Before officially installing the LED downlight, make sure that you have already decided where to put them. It is best to have a reflected lighting layout plan to guide you throughout.
When making a lighting layout, make sure that you can identify the areas where you need to put lights and their distances from one another.
Moreover, if you already have an existing ceiling, make sure that no ceiling joists will be affected if you start cutting a hole.
Summary
You now know how to install LED recessed lighting. Though electrical stuff needs to be done, you should hire skilled workers to do the job.
But, if you are only replacing or installing the lighting fixture without significant electrical wires connection and changes involved, it is best to have someone do the job for you.


