If you have been fascinated by some LED fixtures, some of them were probably LED light strips.
And while some are being sold in the market, you can actually do something like this. If you are wondering how, perhaps it’s time for you to learn how to solder LED strips!
What Are Solder LED Strips?
If you see a ribbon-like lighting fixture made of light-emitting diodes (LED), then you are probably looking at a LED Light Strip. It has become a popular lighting choice for both residential and commercial purposes.
It’s versatile and easy to install. Whether you need it as an accent or brightness to a certain area or space, you can trust an LED light strip to do the job.
One of the major challenges for those who have tried soldering their own LED strips is how to assemble everything perfectly.
They can read about soldering and the science behind it. However, applying all that can be quite difficult, especially if it’s their first time doing something like this.
While it might sound hard at the beginning, once you get the hang of it, the process of soldering LED strips would be much smoother and simpler.
Solder 101
Before you can even begin soldering, you have to know what it is exactly. Well, it basically involves joining two different kinds of metals together.
And in the case of LED light strips, the solder, made of a metal alloy, is there to hold the bond or connection of your LED light strips.
If you wish to start soldering your LED strips, here’s how you can do it:
1. Make Sure You Have The Right Tools

Soldering LED light strips involves various things. If you want a stable and working LED strip, you need to prepare things like the following beforehand:
- Soldering Iron
- Soldering Tins
- LED Strip
- Wire strippers
- Single or Multi-conductor cable wires
- Scissors
- Tape
- Cleaning Sponge
These are just some of the basic items you need so that you can solder your LED strip lights stably and successfully. There might be other tools that you need as you go along. It’s best to have these things on standby.
Before you start, make sure you avoid inhaling solder fumes directly. It’s advisable to work in a well-ventilated area. Prolonged exposure to this kind of fume can pose a threat to your health.
Also, don’t forget to protect your eyes. Some fragments from your solder might get into your eyes and injure you.
2. Prepare And Customize The LED Strips

One of the advantages of soldering your own LED light strips is you can customize them any way you want. You can also choose between using an analog or digital LED light strip.
And different types of LED light strips also come in various voltages. Whatever you end up using, remember that there are a couple of considerations you need to take note of.
You can start with figuring out what the LED light strip is for exactly. Is the light strip meant for a specific location or function? Do you only want white light or a combination of RGB? What mood are you trying to set?
These are just some of the questions you need to get into before doing any soldering. Make sure you check the brightness (Lumen), Color Temperature, and Color Rendering Index of the LED strip you intend to use
You can go ahead and start with the serious work once you have determined the answers to these questions. If you have a roll of LED strips, you can cut it to your desired length using a scissor.
However, make sure you know where to cut. If you see scissor icons or symbols on the LED strip, that’s where you are supposed to cut.
If you just make random cuts on the LED strip, you might run into some problems during the soldering process. No matter how much you solder it, you just might not get the desired results.
3. Clean The Solder

There’s nothing quite starting with a clean state. And that applies to your soldering iron. As this is one of your most important tools, you need to keep it fresh and clean.
If you fail to do this, deposits and residues might build up, which can affect the performance of your soldering iron.
One of the easiest ways to ensure that the tip of your soldering iron is always clean is to have a wet sponge ready. There’s no need to rub or soak the soldering iron tip into the sponge.
4. Heat The Solder
Heat plays a big role in soldering. It’s why you have to make sure your soldering iron is hot enough. It takes a couple of minutes for the solder to heat up, so you need to be patient.
You should wait until the solder has reached the 330 to 350 degrees Celsius temperature range. Since the soldering iron is very hot, the handle should be made from something heatproof.
And since you are dealing with very high temperatures, make sure you never touch or risk burning yourself.
5. Pre-tin The Wires

If you want your LED strips to light up, you also need to connect them to your wires. Peel the ends of your cable until you see some of the wires. Make sure don’t overpeel, or you will end up making things difficult for yourself.
If you are going to pre-tin the wires, you should use the soldering iron. Using this tool, add some solder to the ends of each wire. It would make it easier to attach the wires and LED strip.
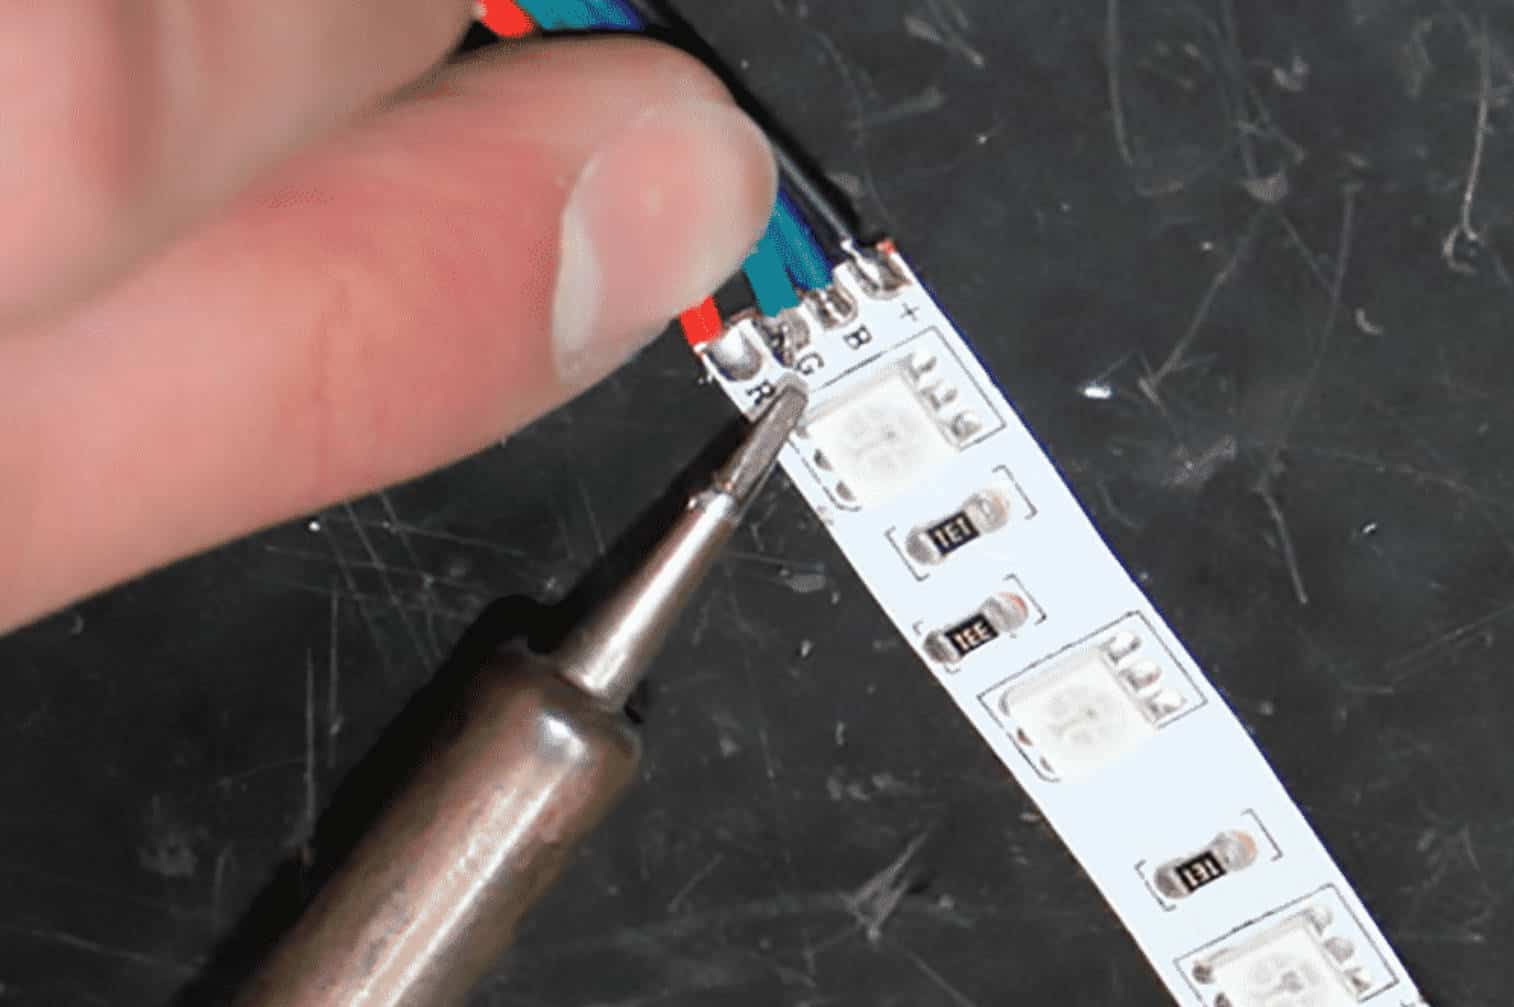
6. Pre-Tin The LED Strips

Just like what you did with the wires, you need to prep the LED strips as well. You can pre-tin the LED strips by adding solder to the contact points. The contact points can be found at the ends of the LED strip.
After this process, you are getting closer and closer to your own DIY soldered LED light strips.
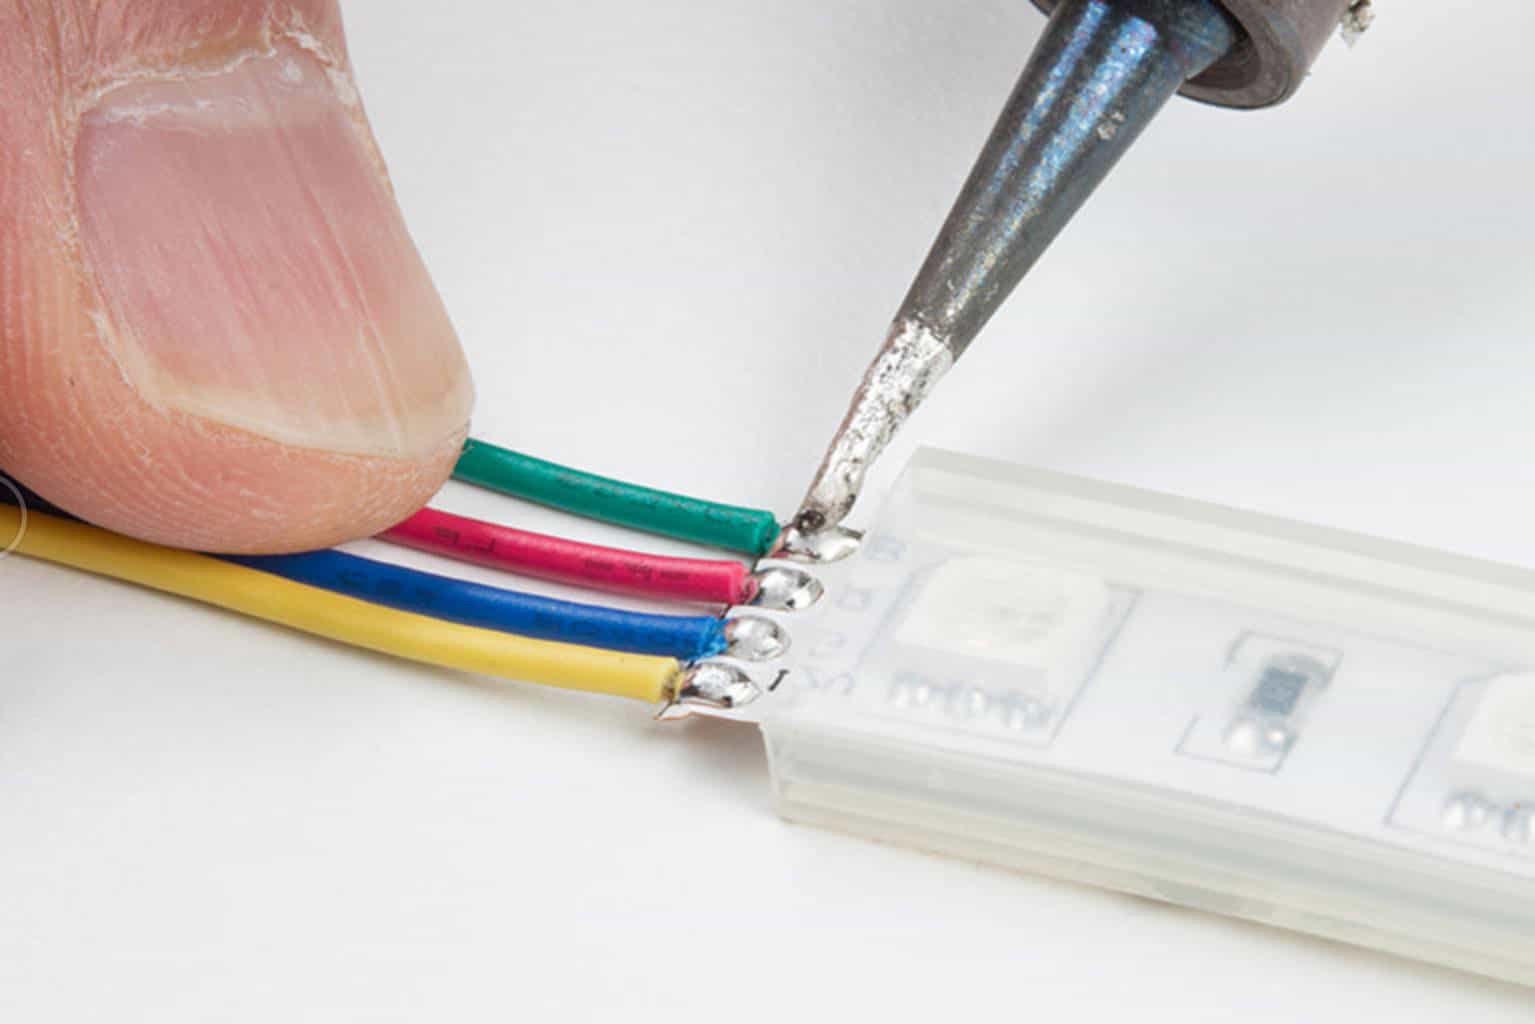
7. Connecting The Wires To The LED Strip

After pre-tinning the wires and LED strips, it’s time to connect them. Joining these two materials would require your soldering iron. Put each end of the wire onto the LED strip contact points.
You can’t just randomly connect them. You have to know which is the positive or negative side. For your LED strip lights to work, you have to get this right!
Once you have determined the correct placements, you can start soldering the wires and the LED strip.
8. Adding More LED Strips
If you feel like the length that you originally had in mind for your LED strip is not enough for whatever lighting project you had planned, you can go ahead and make it longer. It can be possible by soldering two or more LED strips together.
Before attaching the LED strips, do the usual tinning process. Once this is done, cut some parts of strips’ ends to expose the solder beads. Before permanently connecting these LED strips, make sure the polarities are correct. Getting this wrong would mess up the whole set-up.
After lining the LED strips, you can begin soldering them. You can repeat the same process if there’s a need for you to increase the length of your LED strips.
9. Attaching To A Power Supply
For your newly soldered LED light strips to work, you need to connect them to a power supply. For example, if you have 24V LED strips, you can use a 24V/300 Watt magnetic transformer.
Attaching the LED strips to a power supply is not as complicated as you think. The key thing to remember here is getting the electric charges right.
The positive end of the LED strip should be attached to the transformer’s positive terminal. The negative end should be connected to the negative terminal.
Apart from a magnetic transformer, there are other power supplies that you can use. If you don’t know how much power is needed to power your LED strips, you can go ahead and calculate it.
You can usually check the power consumption of the LED strips on the label of the reel. The format is usually wattage per meter.
If you have a 10 meter LED strip and the power consumption is 15 W/M, you can just multiply these figures to figure out how much power is needed. Here’s the simple calculation:
10 meters X 15W/M = 150 watts
You need a power supply that can provide 150 watts to light up your LED strips. There won’t be any problems with lighting your LED strips if you have a capable power supply. You can now go ahead and set it up wherever you intend to display it!
Solder Now, Light Later
Knowing how to solder LED strips is no easy feat. However, as long as you have the patience, confidence, and the right techniques, you will eventually master it. Before you know it, you will be soldering more and more LED strip lights for your home or business!